IX15 Gateway quick start guide
Tip Migrating from a WR-series device? See ![]() Digi Router Migration - SarOS to DAL OS article for transition information and resources to set up your new IX-series router.
Digi Router Migration - SarOS to DAL OS article for transition information and resources to set up your new IX-series router.
Introduction
Welcome to the product model router quick start guide, which walks you through the essential steps to deploy your router efficiently, ensuring you are up and running in no time.
You're here because you scanned the QR code on the Welcome card that came inside the router box.
Before you begin
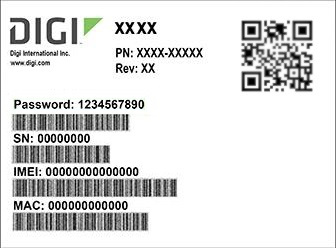
Keep the extra product label sticker in a safe place.
Every Digi router has a product label on the bottom, which has information unique to that device, including product model, part number, QR code, password, MAC address and serial number. There is an identical sticker included in the router box. You can refer to the information on this extra sticker if you do not have access to the hardware. Using the extra product label sticker is the most efficient way to register routers in Digi Remote Manager.
Gather accessories
Accessories may be purchased with the product model device, or you can provide your own.
List of accessories referenced in this guide
|
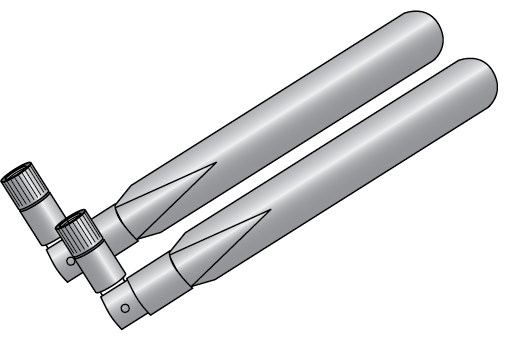
Two cellular antennas Included in IX15 Accessory kit (76002107)—the kit may be ordered separately. |
RF antenna One RF antenna for XBee. Included in IX15 Accessory kit (76002107)—the kit may be ordered separately. |
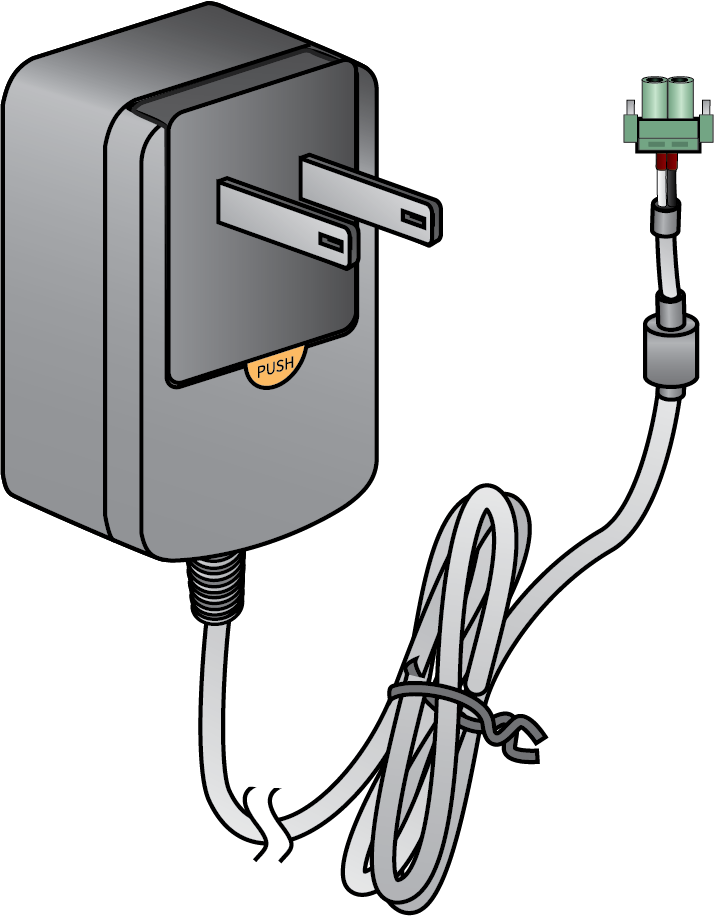
Power supply 9-30 V Included in IX15 Accessory kit (76002107)—the kit may be ordered separately. |
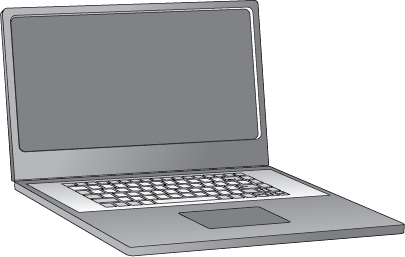
Laptop or personal computer Use a n Ethernet cable to connect your IX15 to a laptop or PC. |
SIM card(s) If you intend to configure cellular WWAN access at this time, acquire SIM cards as needed. Note the carrier, network Access Point Name (APN), and SIM pin—if any—for each card. |
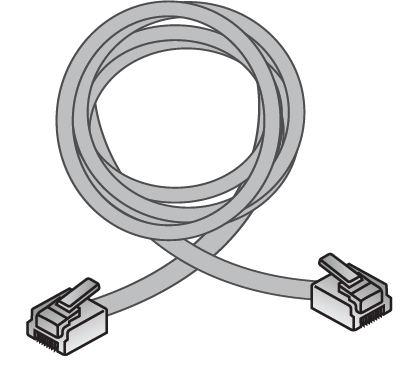
Ethernet cable One—Included in IX15 Accessory kit (76002107)—the kit may be ordered separately. |
Instructions
-
Set up the router hardware.
-
Install the SIM card(s) into the router by following the procedure found in the IX15 DAL OS product-specific user guide.
-
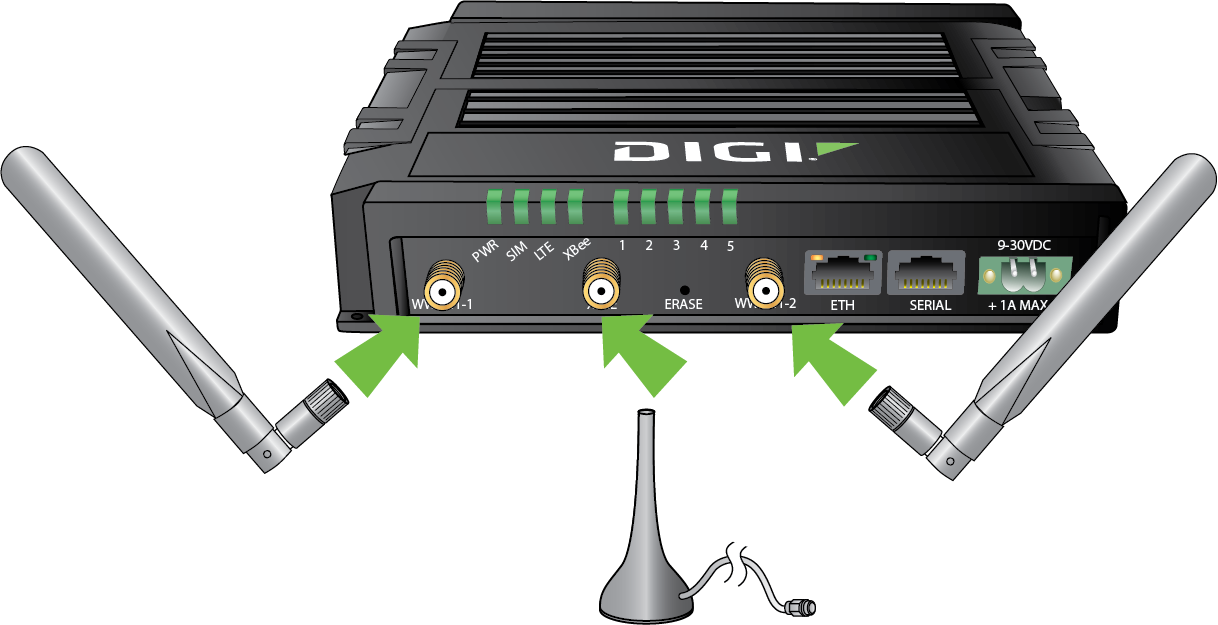
Attach and securely tighten both the cellular antennas and the RF antenna to the WWAN-1, WWAN-2, and XBee connectors on the router.
-
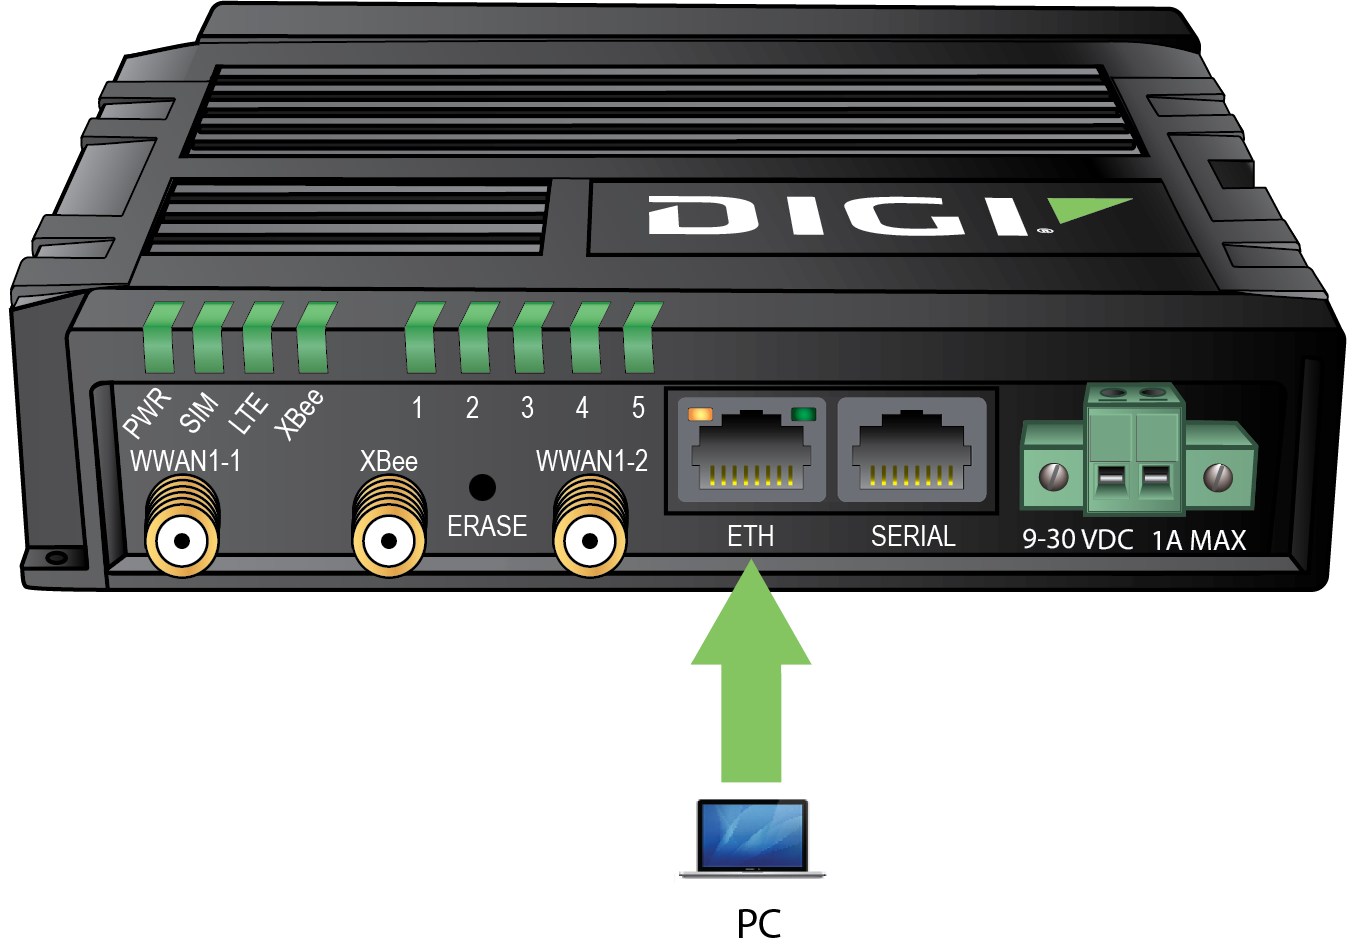
Using an Ethernet cable, connect the IX15's ETH port to the internet, such as a home internet router or LAN Ethernet port in an office environment.
-
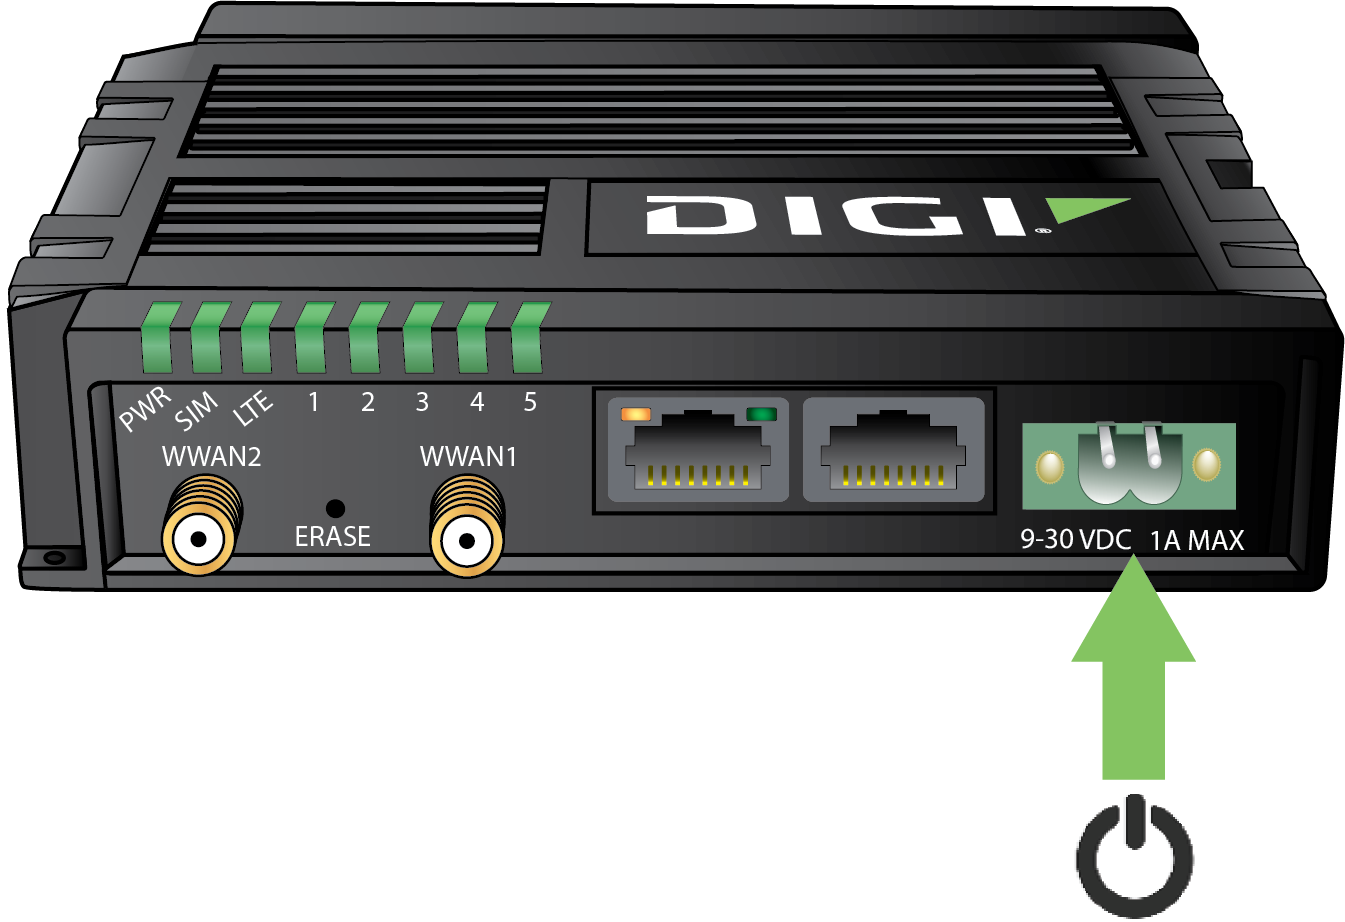
Connect the DC power. The IX15 is intended to be powered by a certified power supply with output rated at either 12 VDC/0.75 A or 24 VDC/0.375 A minimum. See IX15 power supply requirements topics in the product-specific user guide.
Power on the router and wait until a cellular connection has been established.
-
The Power LED is solid green as the device prepares to boot up.
-
When the Power LED turns to solid turquoise, the IX15 is ready.
When connecting for the first time, it could take several minutes for the router to connect to the cellular network while it attempts to determine the APN required for the connection.
-
Indicator LEDs blink to show status during startup.
-
Verify that the LTE LED on the front of the IX15 shows either green or blue—solid or flashing—for proper operation.
-
Verify that the signal strength indicator on the front of the IX15 shows two or more bars.
Note If your SIM card has an APN that is not recognized by the router, skip this step and configure the APN in Step 5. You can also refer to Configure cellular modem APNs in the product-specific user guide for more detailed instructions.
Caution If your laptop or PC is connected to the ETH port on the product model and the product model has a cellular internet connection established, the laptop or PC will likely automatically switch from its Wi-Fi internet connection to its Ethernet port. This will result in the product model routing all internet data to and from the laptop or PC. This could result in excessive data charges to the cellular data account associated with the SIM card in the product model. To interface with the product model via LAN while maintaining internet through the laptop or PC Wi-Fi, follow the standard procedure for changing the priority order of network adapters in the laptop or PC.
You can also change the configuration of the Ethernet port to WAN, connect the product model to the internet by providing an internet connection to the WAN-configured Ethernet port, and configure the device over Digi Remote Manager. For instructions on configuring the ETH port for WAN, see Configure a Wide Area Network (WAN).
-
-
-
Register for a Digi Remote Manager account.
-
If you need to register a new company account and you have a never-registered Digi 360 router, follow the procedure called Quick start | New Digi Remote Manager account creation in the Digi Remote Manager user guide. Once you have completed it, skip to Step 3: Register your device and finish this quick start.
-
If you already have a Digi Remote Manager account, skip to Step 3: Register your device.
-
If you do not use Digi Remote Manager and want to configure the device locally, you can skip steps 4 and 5 and configure your device locally. See the Firmware configuration section in your product-specific DAL OS user guide.
-
-
Register your router in Digi Remote Manager.
Follow the procedure
 Register a device in the Digi Remote Manager user guide.
 -
Complete setup.
The router should connect to Digi Remote Manager within a couple of minutes.
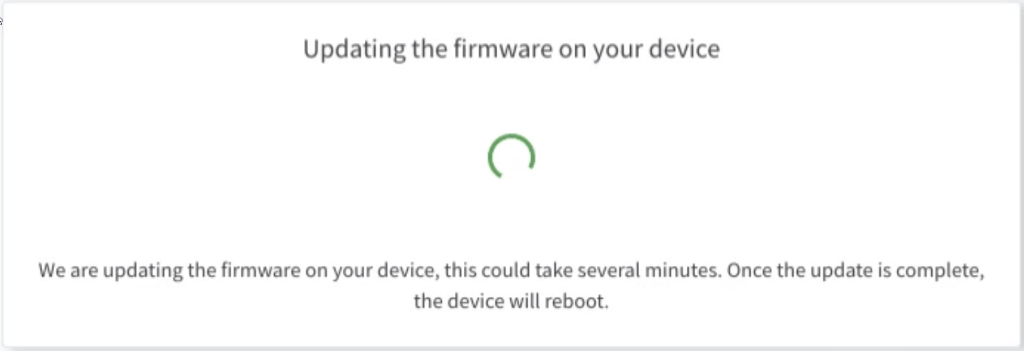
If newer firmware is available, Digi Remote Manager will prompt you to update the router. In the dialog box, click Update to update the firmware. Remote Manager will perform the update in the background and let you know when it is completed.
Click Done when the firmware update is complete.
-
Configure cellular APN.
If you inserted a SIM in Step 1: Set up the router hardware, the device will attempt to set up the APN automatically. However, if your SIM was set up with a custom APN, you will need to configure it manually:
-
Navigate to the Settings tab in the Digi Remote Manager Device Details view.
-
Expand the Config menu item and click the Network settings menu.
-
Expand Interfaces > Modem > modem > APN list > APN list 1.
-
For APN, enter the custom APN provided by your cellular provider.
-
Click Apply.
-
Navigate to the Details tab and watch for confirmation of cellular connectivity.
-
![]() Your router hardware is set up, connected to the internet, and registered in Digi Remote Manager. Once you have set up our router, it is time to start working with your device and discover all its features. See the Get started guide.
Your router hardware is set up, connected to the internet, and registered in Digi Remote Manager. Once you have set up our router, it is time to start working with your device and discover all its features. See the Get started guide.
